Image
A picture with a caption, a size and a position. The file is kept inside your vault, in a folder called assets, so it travels with your documents.

Adding one
The quick way is to paste a picture or drop a file onto the page, and Plicine makes the block for you (Pictures covers pasting, dropping and moving). Or type / at the start of an empty line and pick Image. The new block says "No image yet": click it to choose a file, or paste one in.
Images up to 25 MB are taken: AVIF, BMP, GIF, JPEG, PNG, SVG and WebP.
Changing it
An image is changed on the picture, not in a panel. Click it and a small editor opens underneath, floating over what comes next so nothing on the page jumps.
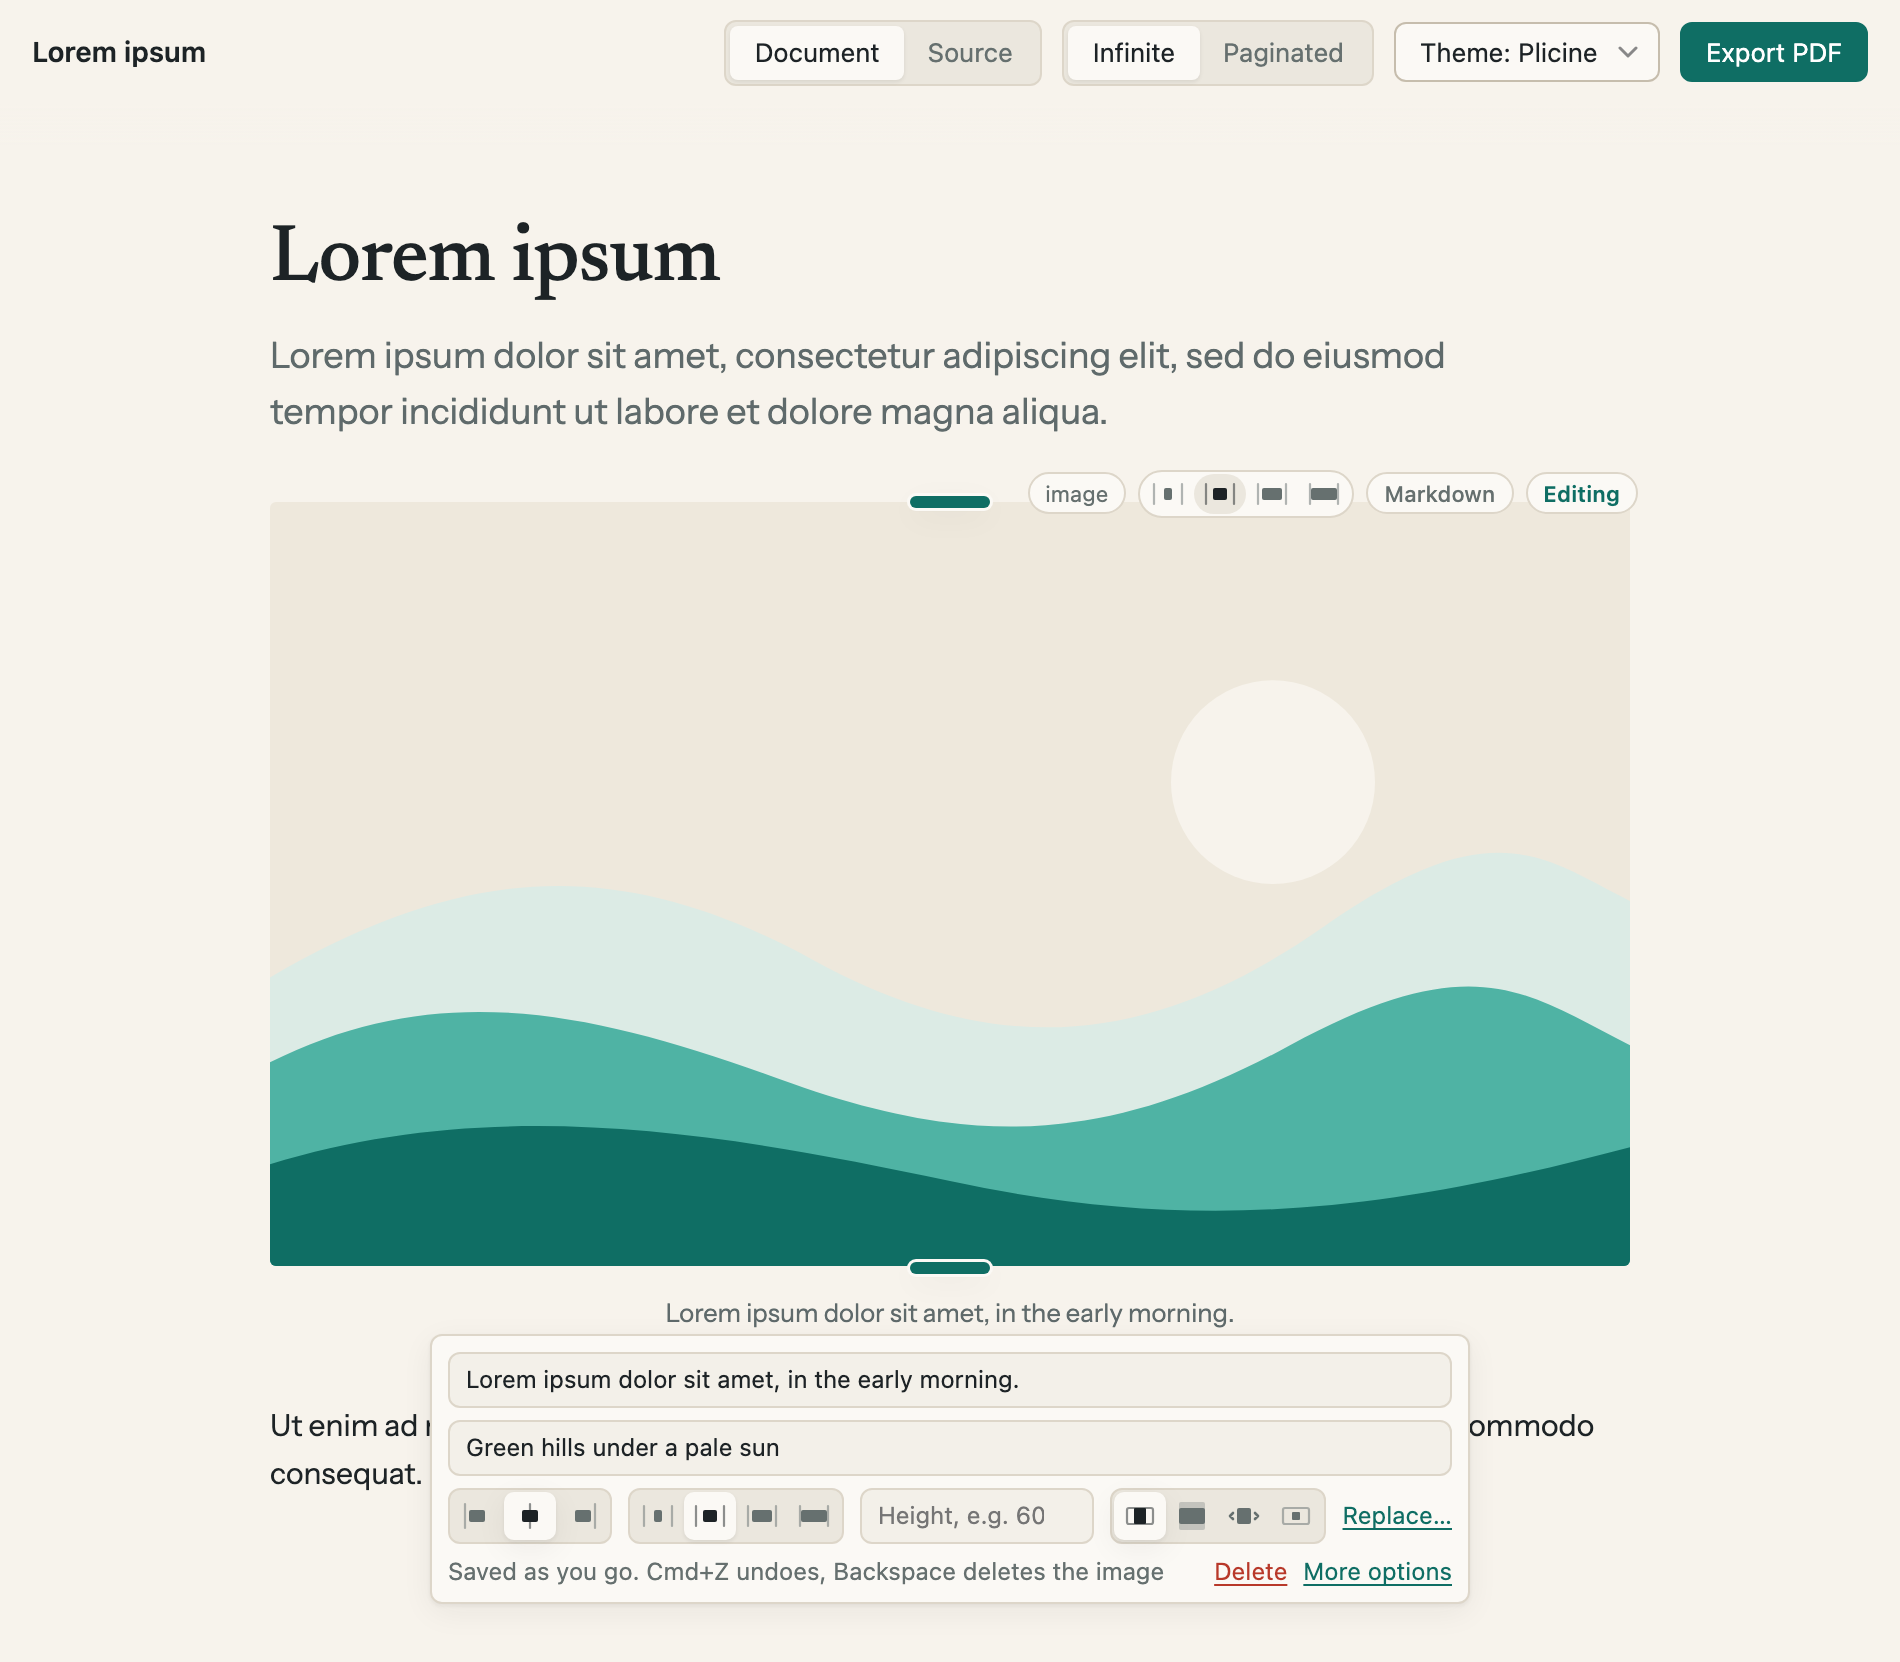
The editor under a picture. The green grips on the picture's top and bottom edges set its height by dragging.
| Control | What it does |
|---|---|
| First field | The caption, shown under the picture |
| Second field | A description for people who use a screen reader. It isn't shown on the page |
| Left, centre, right | Where the picture sits. When the picture is cropped, it's also the side that's kept |
| Narrow, Normal, Wide, Full | How much of the page's width the picture can take |
| Height | How tall the picture is, such as 60mm or 220px. Dragging a grip fills it in for you, and the × in the field clears it |
| The four fit buttons | Fit inside shows the whole picture. Crop to fill fills the width and trims what's over the height. Stretch pulls the picture to the height. Original size leaves it as big as its file |
| Replace… | Choose another file |
| Delete | Takes the picture out of the document. The file stays in assets |
| More options | Opens the full form at the side, where the file's path can be typed by hand |
Changes save as you make them. There's no Done button: Esc, Enter in a field or a click elsewhere closes the editor, and Cmd+Z (Ctrl+Z on Windows) takes a change back while it's open.
A header image
Put a picture first in the document and a Make it a header button shows under it. One click turns the picture into a banner: full width, cropped to fill, running up to the top of the page and out to both sides.
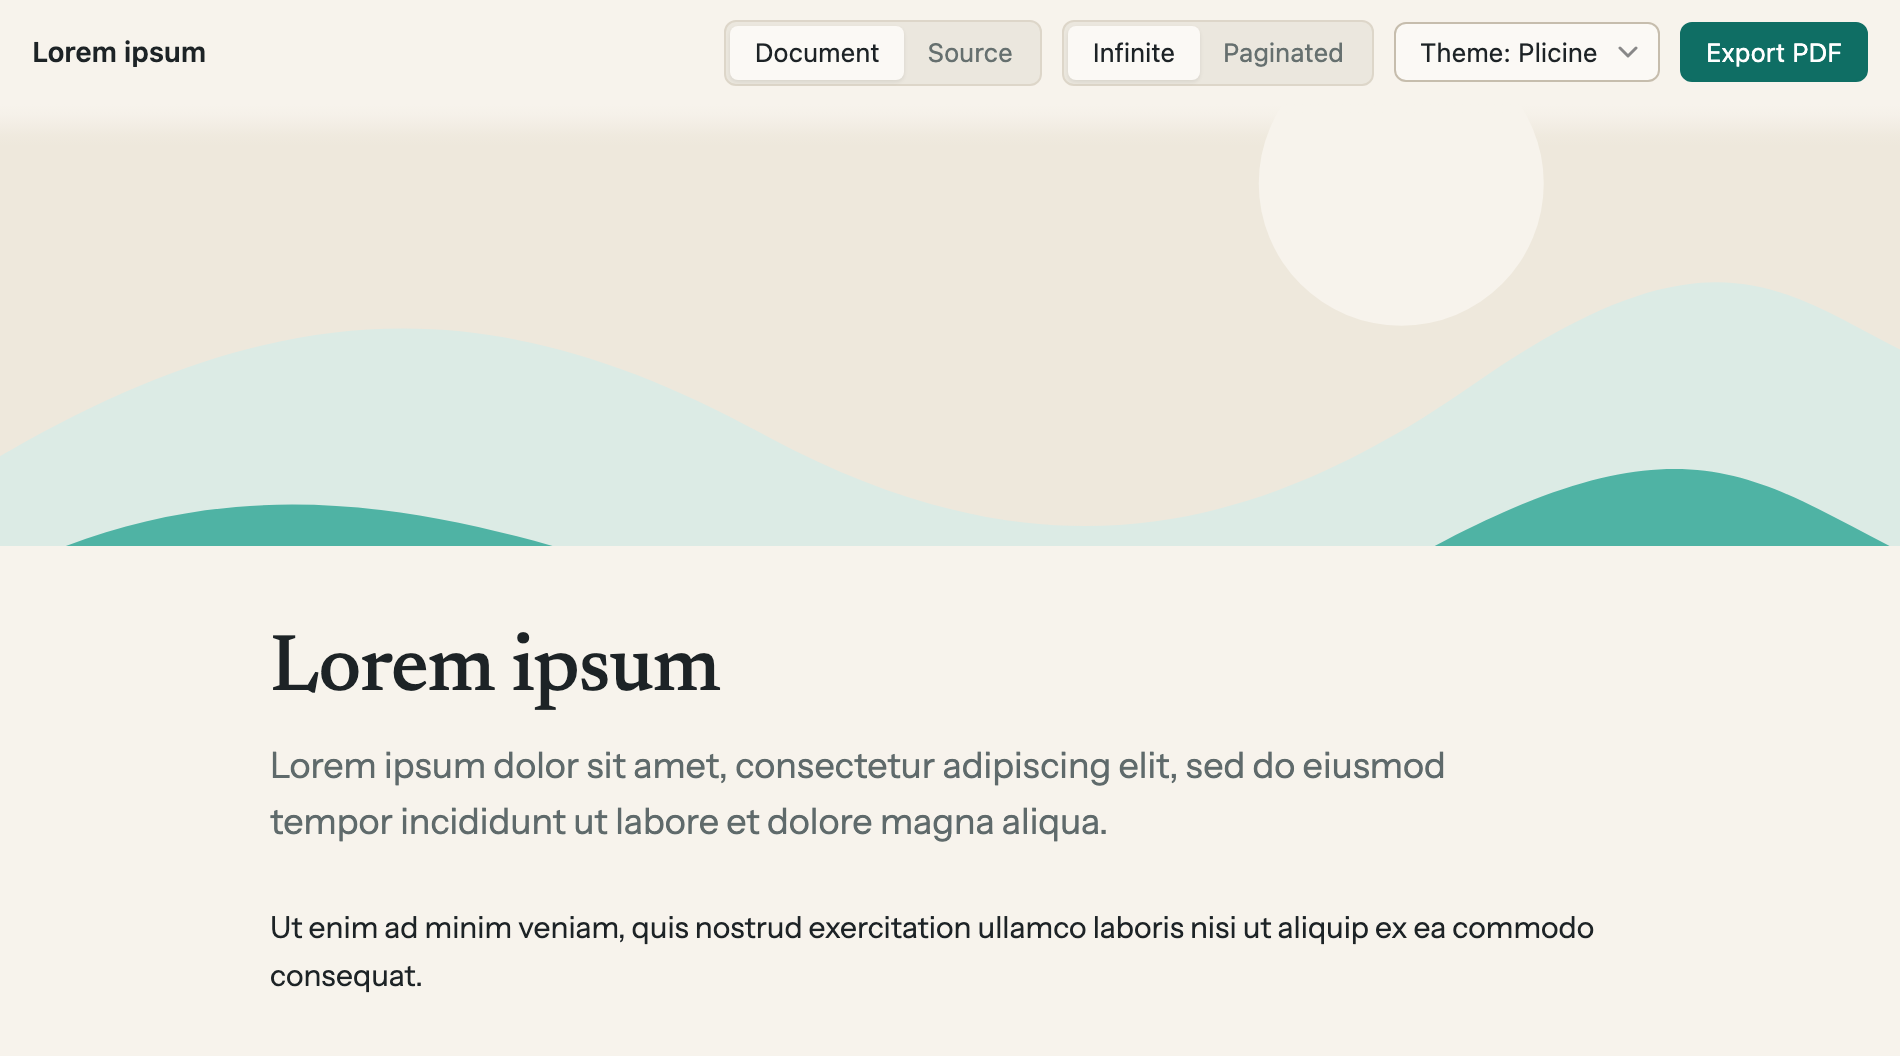
A header image. Give it a height to make it a band like this one.
You can make one by hand too: set the first picture's width to Full and its fit to Crop to fill, then give it a height.
In a PDF
A picture prints at the size and position it has on screen, and a caption prints under it. A header image fills the head of the first page, up through the top margin and out to both sides, stopping just short of the sheet's edge, where most printers can't reach. Anything your theme puts in the top margin is left off that page.
For technical readers: Core blocks has the block as it's written in the file.